Producing great product images on a budget

Online shopping relies on retailers to communicate the value of a product through visuals. Shoppers don’t have the opportunity to hold the product or feel its quality to decide if it’s what they are looking for, so your images need to showcase the features of each item and convince the customer of its worth.
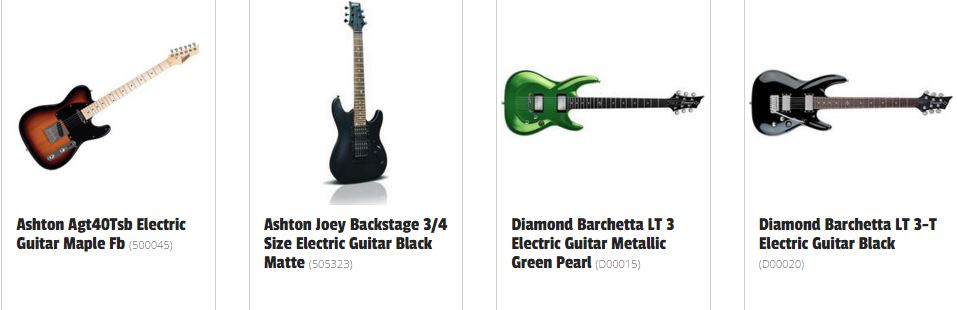
Small businesses rarely have the budget required to invest in studio quality photography and editing. This can easily turn into thousands of dollars for only a few different products. If you have a large range or one that changes regularly, you might find yourself with a bill of $10,000 or more every time and starts to look prohibitive. This means eCommerce sites have two options: use the images supplied by the manufacturer, which can be of questionable quality or non-existent, or take them yourself.
The essentials
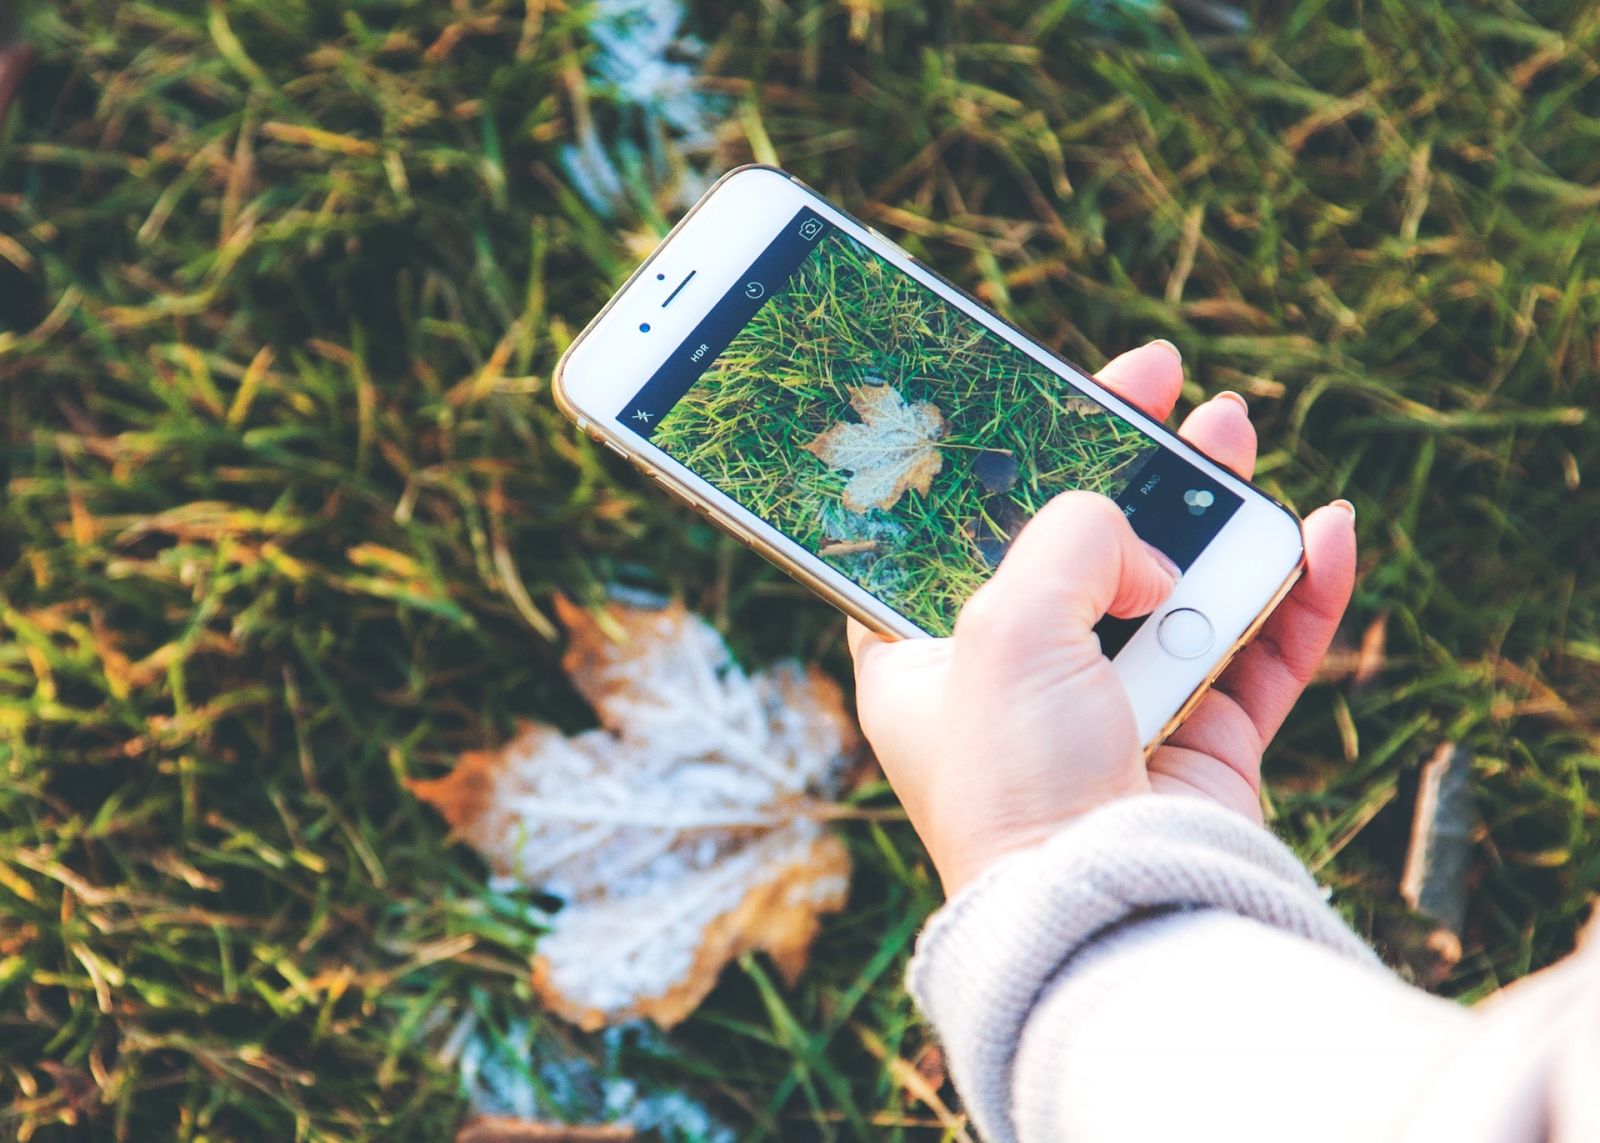
Smartphone. Often the cost of professional equipment is cited as a reason that makes it impossible to take the photographs yourself. Firstly, investing in a top-quality DSLR camera is a one-off expense. If you were to spend $3000 on a camera, then that is all you will pay for using that camera as there is no film to buy or photographer to hire. Secondly, it isn’t necessary to buy an expensive camera if you have a relatively new smartphone. The iPhone 6s/6s Plus has an excellent camera, as do models back to the 5s. For the Android-inclined, the Samsung Galaxy S6 Edge+ and Google Nexus 5X are considered to have the best cameras around. The power of your iPhone can be enhanced with an app like Camera+, which adds in-frame exposure control, a macro function, filters, editing software, stabiliser, and more.
Background: To get a professional look, you will need a seamless background. This means a piece of white cardboard or thick paper that is large enough to accommodate your product and will curve without creasing or rippling. Add to this a thicker piece of cardboard or Styrofoam to reflect light onto the product.
Window: Choose a spot next to a large window and shoot when the light is coming through strong and bright. Position a table against a wall and curve the large piece of paper from the wall to the table and secure it in place with tape. Bend the Styrofoam at a right angle and position it on the non-window side of the cardboard and place your product on the flat part of the curved cardboard.
Your product is now well-lit and ready to go. Take your photographs from a range of distances and angles, rotating the product as well as the height the photographs are taken from.
The nice-to-haves
Lenses: There is a wide range of clip-on lenses available for most smartphones. These aim to add extra functionality to the camera, with macro, tele and fish eye lenses the most common. The prices range from the very cheap to around $100 per lens and these promise to give professional looking results. Some of the most popular for iPhone include Olloclip and Moment lenses.
Lightbox: A lightbox and lamp can be a great source of light for when you can’t wait for the sun to shine. The translucent nature of a lightbox diffuses the light to soften the often harsh nature of artificial sources. They range from temporary models constructed from paper to more permanent constructions designed for a purpose-built studio setting.
Tripod: A tripod is great for taking photographs in low-light situations as it helps eliminate the shake that is recorded at slower shutter speeds. This enables you to take product photographs in different settings, where the strong light will detract from the atmosphere you want to achieve. A tripod will also enable you to maintain consistent angles across your product images.
The future investments
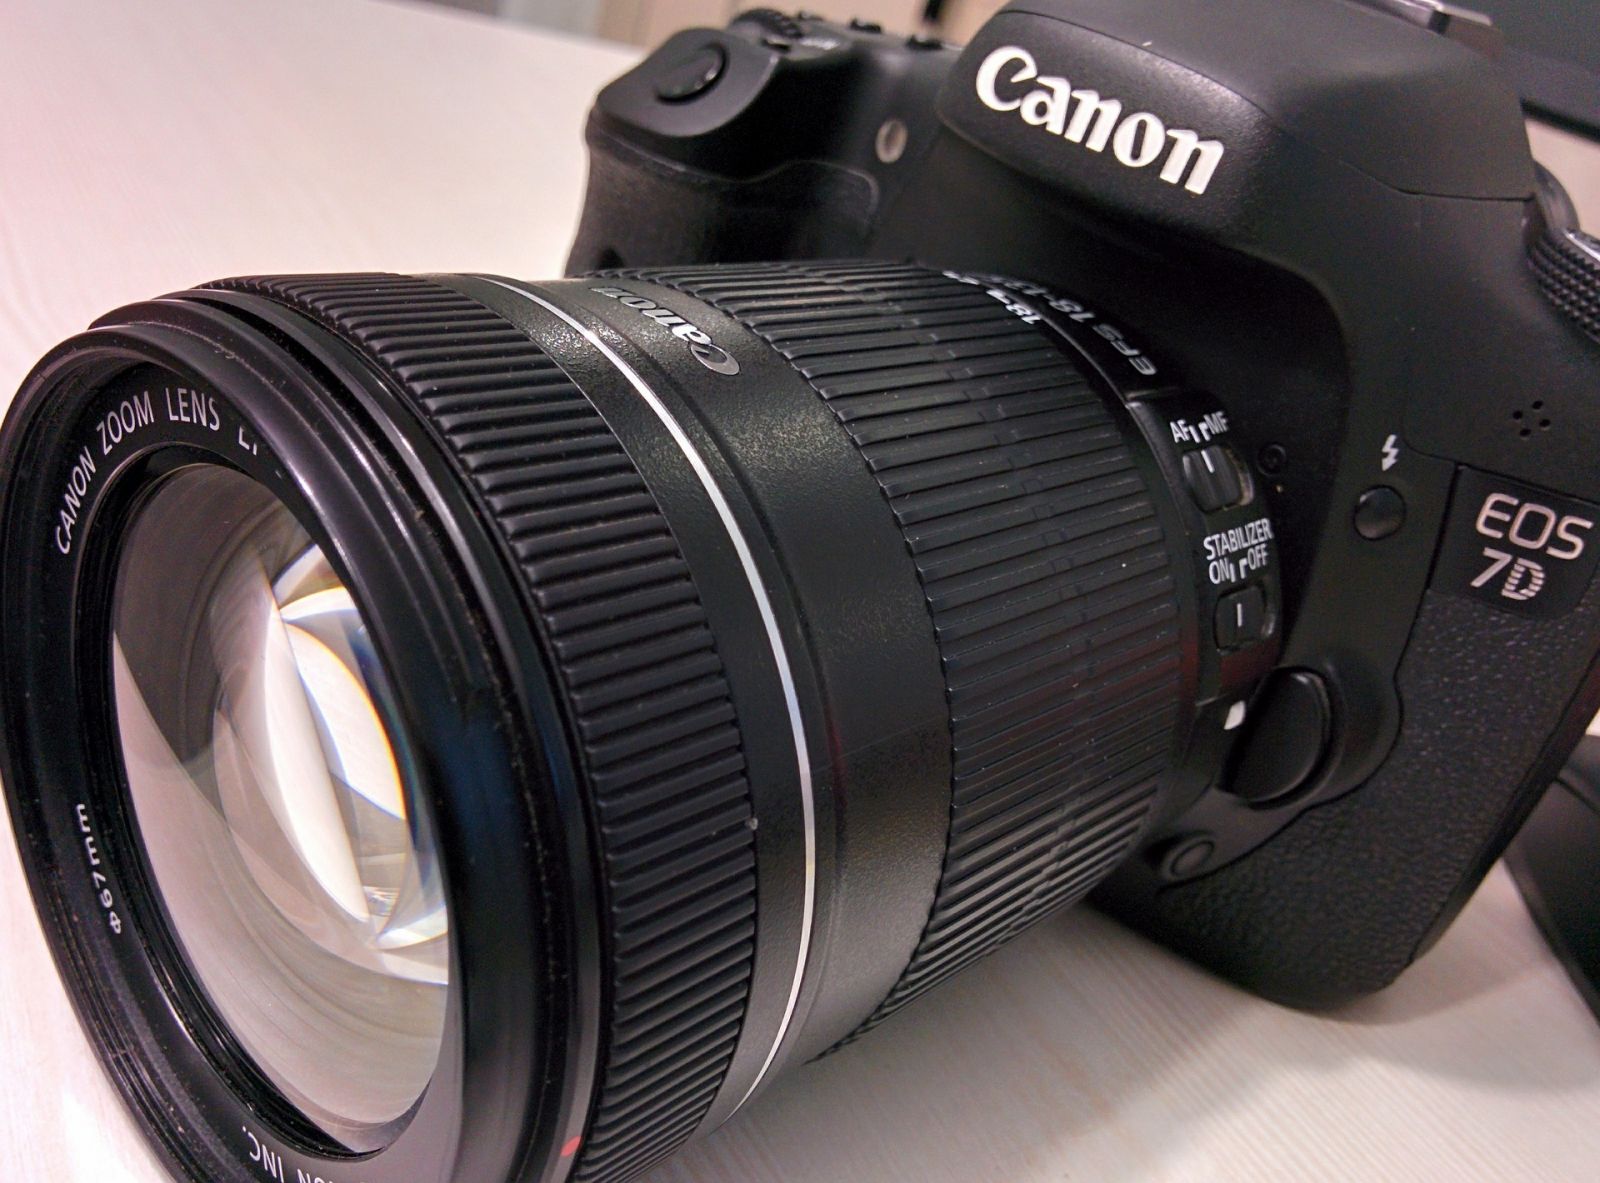
DSLR: As your business grows and you want to raise the professionalism of your images a notch, a digital single-lens reflex camera is a worthwhile investment. You can choose to spend a huge amount for a top of the line model, or pick up a great camera for less than $1000. The cost is generally determined by the number of megapixels, which controls how big your pictures can be. Shooting with a 10–20-megapixel camera will give you the flexibility to provide zoom options on online photos without sacrificing fine detail, as well as allow you to crop it and improve the tightness of the shot. The latest smartphone cameras sit at around the 12MP mark, although some go higher, which gives you an idea of the quality you could achieve with a dedicated DSLR once the lens quality is factored in.
Dedicated space: Once your ecommerce business takes off and you buy a professional standard camera to start taking photos of new products regularly, it’s time to think about creating a studio. If your product range is pretty static, then it may not be necessary, but if you are continually bringing in new items then you don’t want to have to construct and dismantle a mini-studio every time. A studio can be as modest as a dedicated corner of a room, or its own room entirely. The choice will depend on your budget, the size of the subjects, and how often you need to use it. You will fill the space with lamps and background material, enabling you to take shots whenever the need arises.
The editing process
The majority of editing should be done at the photo taking stage. Correctly framing the subject and making sure the lighting is right will minimise what needs to be done when the photos are transferred to a computer. Editing software, such as Photoshop and Paint Shop Pro offer a world of transformation possibilities, but they also provide the inexperienced with a thousand more things that can go wrong. Creating simple, well-composed shots will always look better than photos that have been edited by an amateur.
If changes and tweaks are required, there are many tools available to help you get a professional looking result easily and without the expense of over-powered software.
In-phone and iPhoto: The iPhone photo app allows you to crop and rotate to correct framing errors, as well as adjust contrast, brightness, saturation and add a filter. The iPhoto computer program offers the same functionality, but on a larger screen. Android based phones have similar functionality and will do the basics just as well as computer software.
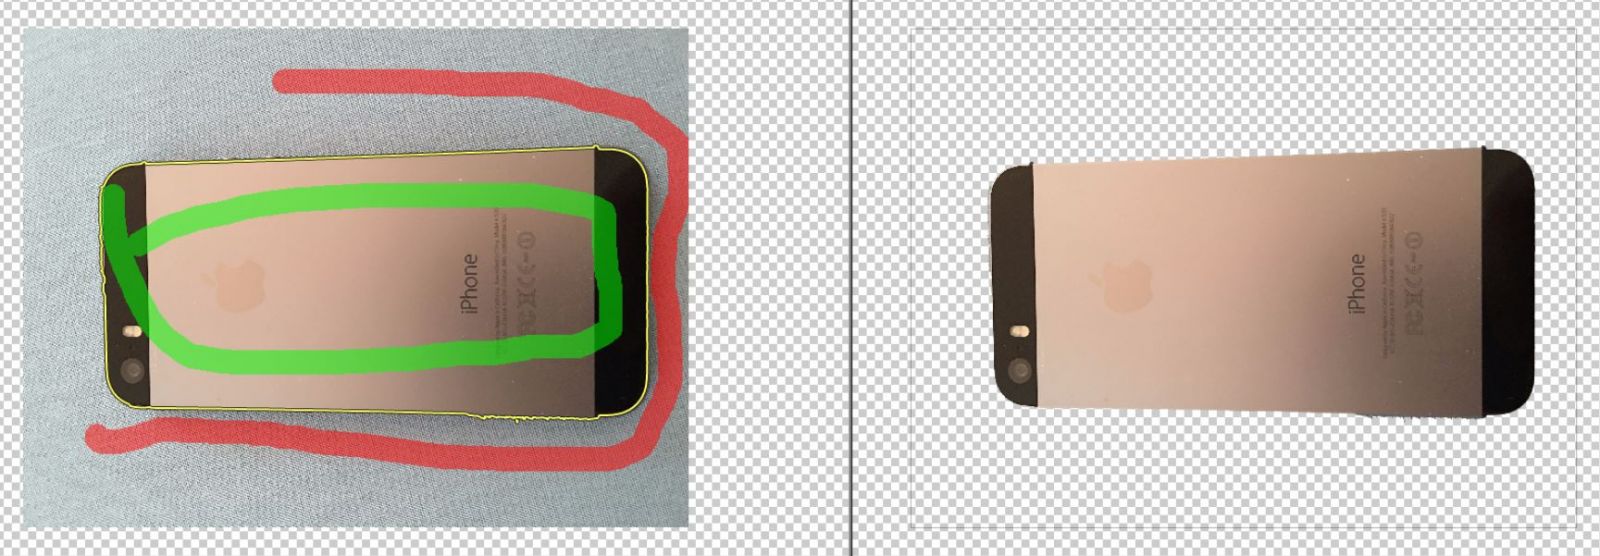
Clipping magic: This online tool enables you to remove the background of a photo with just a few clicks. It doesn’t require any special skill or even a steady hand. Simply mark what you want to keep and what you don’t, and the magic of its algorithm does the rest.
Pixlr: When you find you do need a more comprehensive photo editing tool, Pixlr is web-based and free to use. Simply upload your photograph and edit as you would with other editing programs. While it does have restrictions that a professional might find limiting, the layperson will barely scratch the surface of its functionality.
Canva: Already an online favourite, Canva is more about editing and creating images for social media, but it does have a number of filters that can be helpful. It is also a simple way to add eye-catching text to any image, quickly and easily.
Ready to start? It's a good idea to plan ahead, which is where our Retail Calendar comes in. Be prepared for all the upcoming retail events and key holiday's and make sure you never miss a beat.