
Neto Protip: Making the most out of advanced search in Neto

Welcome to our very first instalment of Neto Protips. With Neto being such a feature rich platform, it can be hard to discover every single feature on your own – so we’ve made this segment to make sure you have everything you need to go all the way with your Neto ecommerce store.
Each week one of our ecommerce experts will share their tips on how you can make the most out of Neto – and hopefully, allowing you to start using Neto like a pro.
Today we want to teach you how to harness the power of advanced search. The search function in your Neto control panel allows you to use advanced search operators to help you find what you are looking for quickly and accurately. Below are some examples on how you can use the operators to effectively search your store:
| Operator | Definition | Example |
|---|---|---|
| & | & represents AND. & is the default separator in a search query. Enter an & symbol between words to do an AND query. | John & Peter |
| , | Commas represent OR. Enter a comma between words to do an OR query. |
John, Peter
|
| () | Brackets are used to do complex queries. | ( a AND b ) OR ( x AND y ) OR z |
| "" | Quotes are used to search for a phrase. | "a b c" |
| EXACT: | Exact match search. Only returns results that exactly match the search term. | EXACT: ABC |
| LIKE: | Like match search. Returns results that contain the search term. | LIKE: ABC |
| STARTWITH: | Returns results that start with the search term. | STARTWITH:ABC |
| ENDWITH: | Returns results that end with the search term. | ENDWITH:ABC |
Setting up custom filters
Now that you have advanced search down pat, you can easily setup custom filters. Setting up custom filters using advanced search allows you to quickly create filtered order lists based on predefined parameters – meaning that your warehouse managers can pick and pack more effectively.
Here are some steps to help you set your custom filters:
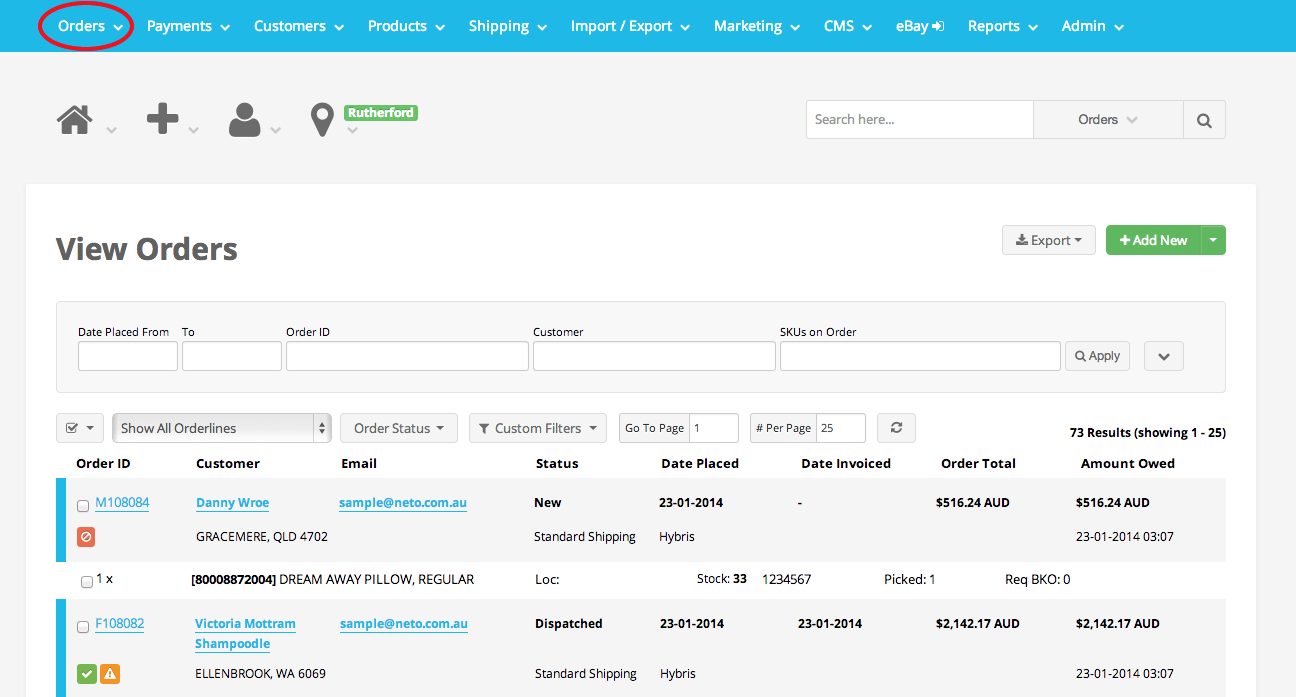
1. Go to: Desktop Interface > Orders > View All Orders
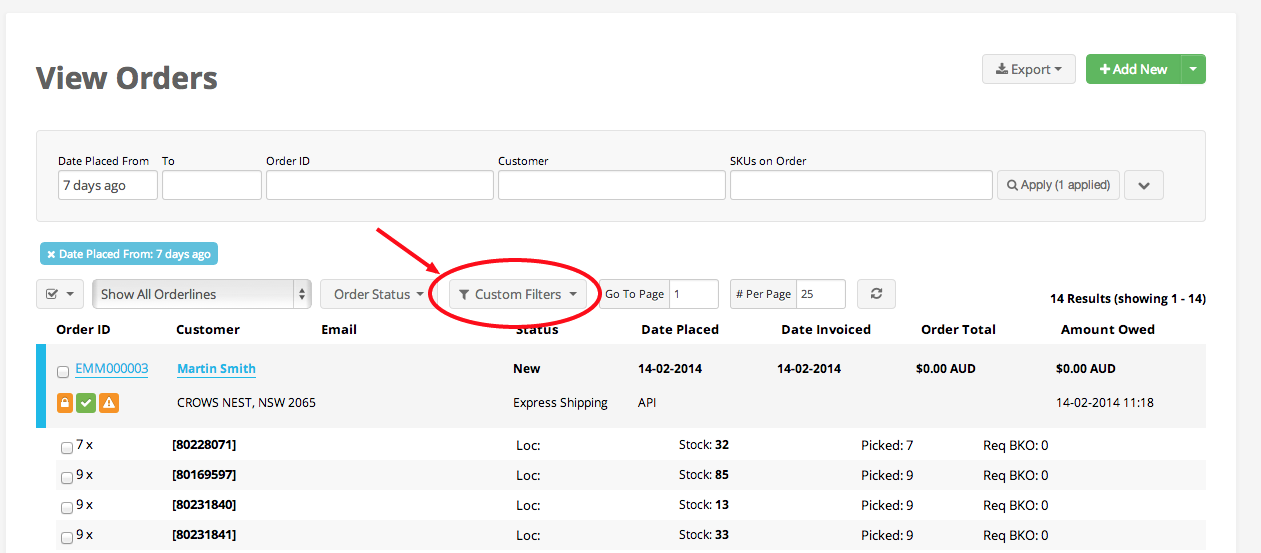
2. Filter your results using the filter section at the top of the page. You can expand your filter by clicking on the down arrow on the right of the filter box.

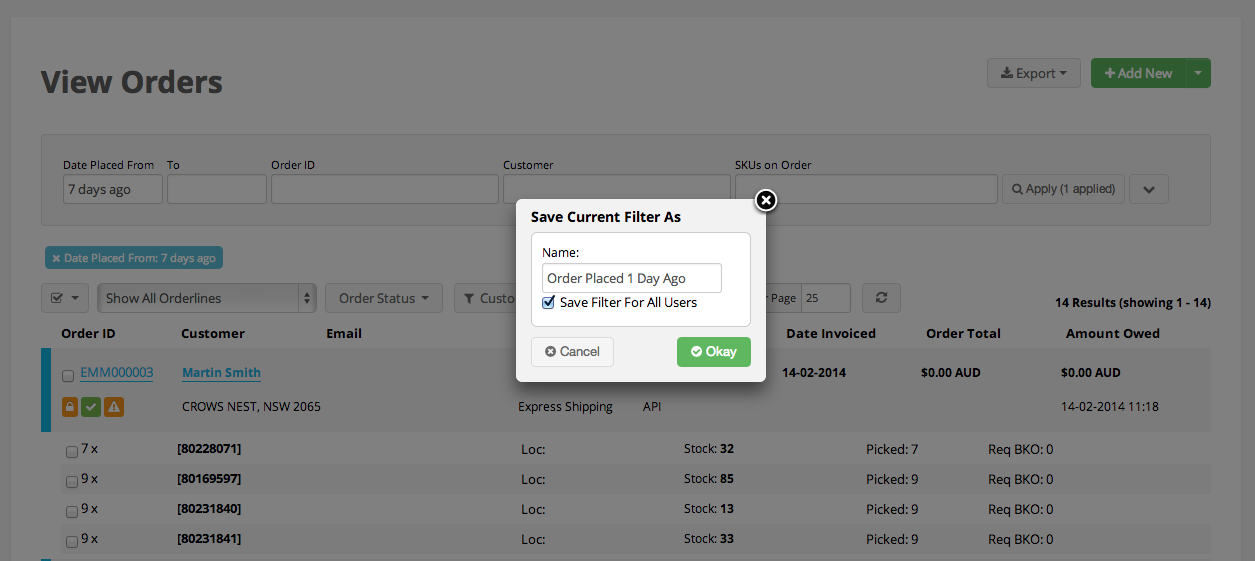
3. Once you have completed your filter setup, you can save your filter as a “custom filter”. To do this click on the “Custom Filters” button above the order list. You will then have the opportunity to name your filter and define whether or not the filter should be made available to other staff members to view.
4. Once your filter has been saved it will appear as a new filter in the following locations:
- Order menu (under the custom filters header);
- Order list page (under custom filters button); and,
- Dashboard (custom filters widget).
And that concludes our first instalment. Is there something you would like to see featured? Let us know in the comments below.
